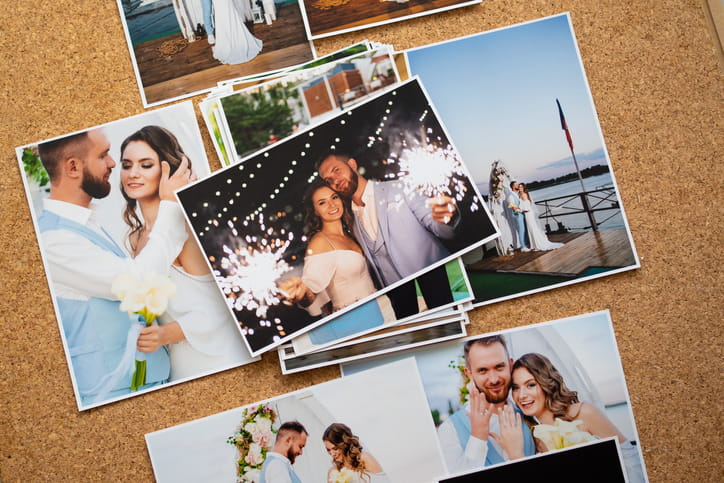
The largest size you can print your photo depends on your file’s pixel dimensions divided by the Pixels Per Inch you want in the final print. As a rule of thumb, divide your pixel dimensions by 300 for top-quality prints held in the hand, by 240 for very good wall prints, and by 150 for big posters viewed at a distance.
If you’re a photographer, a phone camera user, or just trying to turn a digital image into a print, these numbers determine whether the result looks sharp or soft. Cropping reduces the number of available pixels, and files saved from social media or messaging apps are often too compressed for large enlargements.
Below, we explain pixel dimensions, PPI and DPI, and how cropping, image source quality, viewing distance, paper choice, file size, format, and colour preparation affect print size, as well as the practical steps for ordering enlargements. If in doubt, ask us for a quick file check before you order.
Pixels, image resolution, PPI and print size
A digital photo is basically a grid of pixels. Print size is simply how big each of those pixels is allowed to appear on paper. The core principle is straightforward: print size in inches equals the pixel dimension divided by your target PPI. For example, a 4000 x 3000 pixel image at 300 PPI prints at about 13.3 x 10 inches. At 240 PPI, it prints at 16.7 x 12.5 inches. At 150 PPI, it prints at 26.7 x 20 inches.
PPI, or Pixels Per Inch, is the density of image pixels on the paper. Higher PPI means smaller pixels and therefore more apparent sharpness at close viewing distances. For small prints and books, aim for around 300 PPI. For framed wall prints viewed at a typical room distance, around 240 PPI usually looks excellent. For big posters or canvases viewed across a room, about 150 PPI can look very good.
This is not a hard scientific cut-off, though. Clean, well-focused files can tolerate modest enlargement better than noisy or blurry ones. Subject matter and paper choice also influence what looks good. Matte fine art papers are kinder to modest PPI than ultra glossy photo papers, because gloss emphasises every pore of detail and noise.
Phone photos and realistic enlargement sizes
Modern phone cameras can produce superb prints, but their files vary a lot depending on the model, lighting, and how the image was saved. Two factors that matter most are the native pixel dimensions and the image’s clarity.
Recent 12 MP phones create files around 4032 x 3024 pixels. That supports about 13.4 x 10.1 inches at 300 PPI, 16.8 x 12.6 inches at 240 PPI, and roughly 26.9 x 20.2 inches at 150 PPI. In practice, A3 usually looks excellent, and A2 can work well for a wall print if the file is clean and sharp.
Newer high-resolution phones can produce 48 MP files near 8064 x 6048 pixels. That supports around 26.9 x 20.2 inches at 300 PPI and larger at lower PPI, so A2 at high quality is comfortable, and A1 becomes realistic for a well-shot image viewed at a typical wall distance.
Older phones often output 8 MP, around 3264 x 2448 pixels, which is best kept near 10.9 x 8.2 inches at 300 PPI or 13.6 x 10.2 inches at 240 PPI. Larger wall posters may still work at 150 PPI, but quality depends on focus and noise.
Remember that phone images often include computational sharpening and noise reduction. These can look fine on a screen, but show halos or mushy detail when stretched too far. If a phone shot is genuinely crisp, it can be enlarged surprisingly far. If it is a little soft or noisy, keep the size conservative or choose matte paper.

How cropping can reduce enlargement potential
Cropping photos can affect the pixels. When you crop ten per cent off each side, the long edge falls to 80 per cent, and the area drops to 64 per cent of the original, so the maximum print size falls by the same proportion. For example, start with 6000 x 4000 pixels. Crop to straighten a horizon and lose 15 per cent on the long edge and 10 per cent on the short edge, and you are now near 5100 x 3600 pixels. At 300 PPI, that is 17 x 12 inches, where the original could manage 20 x 13.3 inches.
Heavy crops are fine when the subject is sharp and detailed. If a crop also removes pixels from a file that was a little soft or noisy, you may be forced to print smaller or accept a lower PPI.
Image source and originals
Not all JPEG files are the same. The original camera file typically contains the most pixels and the least compression artefacts. Messaging apps often compress aggressively to speed up delivery, especially in group chats, which can cut the long edge to a few thousand pixels or less, introducing blocky artefacts in solid areas and along edges. Social media feeds frequently cap resolution and re-encode images, so a download from a post may be only 1080 px wide even if your camera shot was 6000 px, and stories, highlights and screenshot saves reduce quality further. Screenshots are locked to your screen resolution rather than your camera’s, and are rarely suitable for anything larger than small prints. Some cloud services store a reduced proxy version for faster viewing, so ensure you export the full-resolution original. When possible, export the original from your camera roll or camera software. If the only available file is a shared or compressed copy, keep the print small or let us assess whether a larger size will hold up.

PPI versus DPI explained simply
PPI stands for Pixels Per Inch, or how many pixels fall into one inch of the final print. DPI, or Dots Per Inch, refers to the printer’s droplet placement; it describes how the printer lays down tiny ink dots, often many for each image pixel, so DPI and PPI are different measures. To judge file suitability, work with PPI. Think it like this: your file has pixels, your print has inches, and PPI connects them.
Viewing distance and sensible targets
The farther away you view a print, the less you notice individual pixels. That is why large posters in shop windows can look sharp despite modest PPI. For handheld prints or books, aim close to 300 PPI. For framed prints on a wall at normal room viewing distance, around 240 PPI usually looks excellent. For large posters or canvases viewed from across a room, about 150 PPI can look very good, and textured media can allow even lower effective PPI.
Paper texture matters too. Fine art matte papers diffuse light slightly and forgive lower PPI. Glossy and metallic papers show every line and pore, so they’re more suitable for higher PPI files.
Aspect ratios and choosing a print size that fits
Photos are not all the same shape. Picking a print size that matches your image shape avoids unwanted cropping or white borders. Files with a 3:2 ratio, common in many cameras, suit sizes such as 6 x 4, 12 x 8, 18 x 12, and 24 x 16 inches. Files with a 4:3 ratio, common on many phones and some cameras, fit sizes such as 12 x 9, 16 x 12, and 24 x 18 inches. Square images are 1:1, so choose square sizes or crop creatively. Wider formats, such as 16:9, fit panoramic sizes or require cropping to standard frames. If you love a specific frame size that does not match your photo shape, we can print with balanced borders and mount the image so it looks intentional and tidy.
Simple checks you can do before you order
- Check pixel dimensions: on a computer, view the file properties or image size to see the width x height in pixels, and verify the actual pixel dimensions rather than relying on resolution metadata or file size alone. Before judging print size, ask how many pixels the file has overall.
- Do a 100 per cent zoom: on-screen, zoom to 100 per cent and look at the edges, eyes, leaves, and fine detail. If it is sharp here, it tends to enlarge well.
- Look for noise and banding: skies should be smooth. Heavy grain, blotches or stripes will print louder than they look on a phone.
- Confirm the source: avoid screenshots or images saved from social media. Use the original file where possible.
- Consider the paper: if a file is marginal, matte or fine-art paper is kinder than a glossy finish.
If you’re unsure, send the file to us and ask for a quick check.
Choosing paper and finish for your image
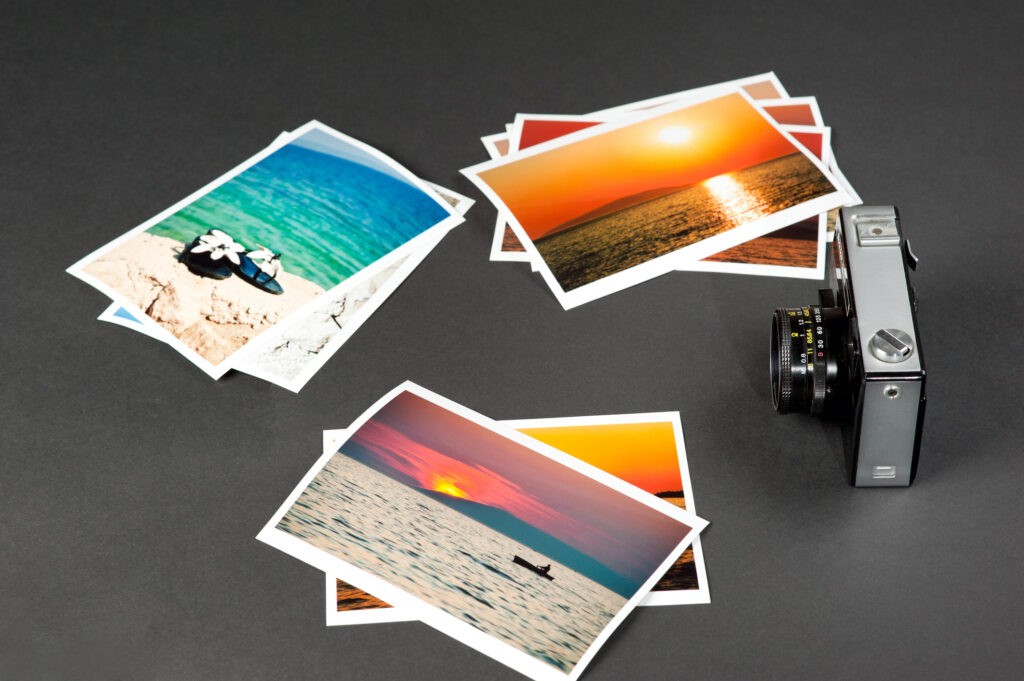
Paper choice changes how detail, contrast and texture feel in the hand and on the wall. Lustre or semi-matt photo papers are classic all-rounders, retaining fine detail, avoiding strong reflections and suiting portraits and scenic shots alike. Full gloss adds contrast, deep blacks and superb apparent sharpness at higher PPI, but it needs a clean, sharp file to avoid amplifying artefacts. Fine art matte papers, either textured or smooth archival stocks, give a more painterly finish and soften minor noise or artefacts, making them ideal for artistic presentation and files that are beautiful but slightly short of perfection. Canvas adds texture that masks modest pixel limitations well and can look amazing when the paper and file are well matched, especially for large prints or even a large-format print viewed across a room, which is great for statement pieces.
If you are unsure, we can recommend a surface after reviewing your image. For colour-critical work, we can run a small test strip on your chosen paper.
Aspect ratio, frames and mounting options
Once you know the largest size your pixels allow, consider how the piece will be presented. Our frames are made to common sizes, and mounts can adapt a print to the frame you already own. A 3:2 image might look perfect at 18 x 12 inches. If your frame is 20 x 16 inches, we can print at 18 x 12 with borders and mount it to sit cleanly inside the 20 x 16 frame window. Square images can be printed with generous borders for a contemporary look, and panoramas can be mounted in bespoke frames to protect the long, slim format. The right mount and frame make the technical decision about pixels disappear behind a coherent presentation.
Our team also offer a professional art and photographic printing service. Explore our art and photographic printing page for papers, finishes and examples that support your subject and size ambitions.
A3 and A2 sizes explained with pixel targets
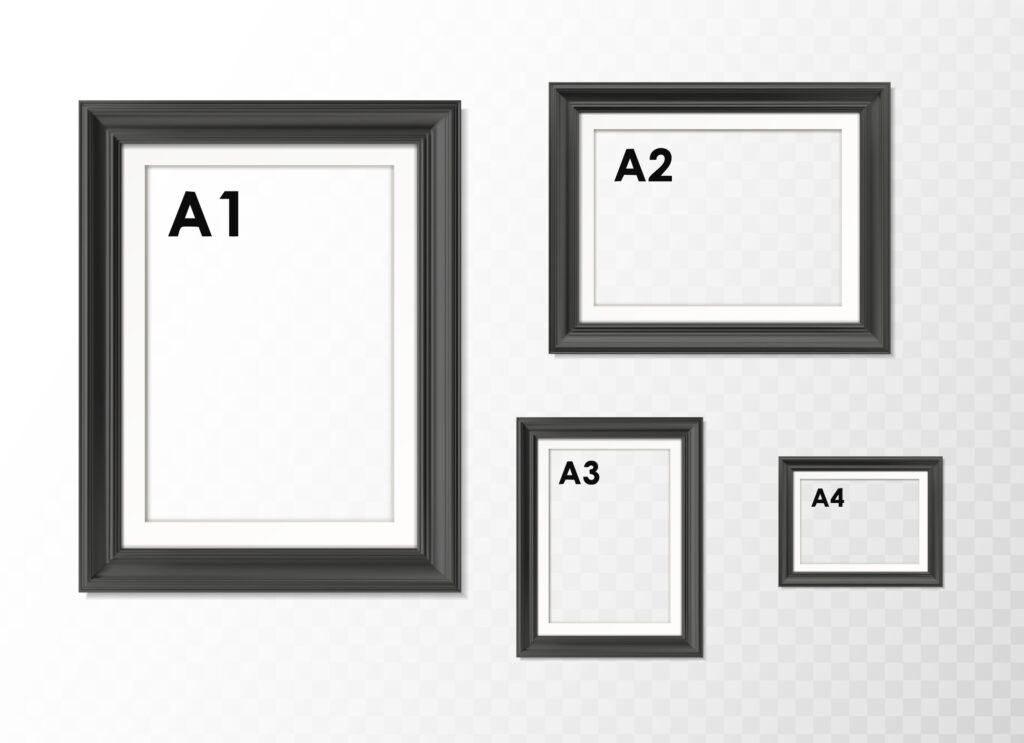
Metric paper sizes are common choices for enlargements. Here are realistic targets that balance quality and practicality. A3 measures 297 x 420 mm, roughly 11.7 x 16.5 inches. At 300 PPI the ideal file would be about 3510 x 4950 pixels. Many modern phone files at 4032 x 3024 will exceed one dimension and be close on the other, which is usually fine at 240 PPI, so A3 is a sweet spot for 12 MP phones and higher.
A2 measures 420 x 594 mm, roughly 16.5 x 23.4 inches. At 300 PPI you would want around 4950 x 7020 pixels, which is beyond a 12 MP phone but within reach for higher resolution phones and most modern cameras at a slightly lower PPI. At around 240 PPI, targets are roughly 3960 x 5616 pixels, which 24 MP cameras and 48 MP phones can exceed. Good 12 MP shots can still look great at A2 when viewed at typical wall distance.
If your image sits between sizes on the PPI scale, a small tweak in either dimension or a switch to a slightly softer paper can make the difference.
Ordering enlargements and getting a quick answer
When you are ready, we can help you place an order. Send your file at full resolution, tell us the size you want and your paper preference, and ask for a quick check if you would like reassurance first. We will confirm whether your file supports that size comfortably, advise on any minor adjustment that will lift quality, and then print with care.
If you already know the size and finish you want, you can go straight to ordering. Yorks Framing offers professional printing with careful colour management and finishing options including mounting and framing. For details on sizes and to start an order for bigger prints, we also offer photo enlargements.
File formats, colour and preparing your image
Most customers send high quality JPEGs or TIFFs, and a png can also be suitable depending on the image. Keep colour profiles embedded, such as sRGB or Adobe RGB, so colour management remains predictable. The file format affects compatibility and quality when exporting a final copy. Avoid repeated save cycles on JPEGs at low quality, because each pass adds compression artefacts. If you edit the image, keep a master and export a fresh final copy for printing, making sure the exported file is print ready before sending.
Check white balance and exposure on a calibrated screen if possible, or at least view on more than one device to avoid surprises. If you are not confident with colour, we can handle the colour balancing. We also check every print for clarity and colour fidelity before completion, so even straightforward orders receive a professional eye.
Common phone features and how they affect prints
Phone cameras offer features that are great on screen and can still print well if used carefully. Portrait mode’s simulated blur looks convincing at smaller sizes, yet at large sizes the transitions can be impacted, so for big wall prints choose shots where hair, glasses and hands are well separated from the background to avoid odd blur edges. Night mode’s multi frame noise reduction works wonders, yet can smear texture, so matte paper helps. Ultra wide lenses can stretch edges through correction so fine detail at the frame edge may look softer when enlarged, which makes a size one step down a safer choice unless you’re happy with the wider composition and slightly softer corners.
If you are unsure which of two versions to print, send both. We can tell you which will carry size better.
Support from Yorks Framing
Yorks Framing uses calibrated printers and a wide range of papers to match the mood and subject of your photo. We can prepare border sizes that suit your frame and mount, add limited edition numbering for art prints, and, when needed, run a small test strip to preview a difficult file at your chosen size. A larger file size on its own does not guarantee better quality in the finished product.
If you want the finished piece framed, our in house team can recommend mounts and mouldings to suit your image and room. As viewing distance increases, the human eye notices less difference in fine detail, so display conditions matter are as important as resolution. The combination of thoughtful sizing and presentation improves the finished product for wall display.